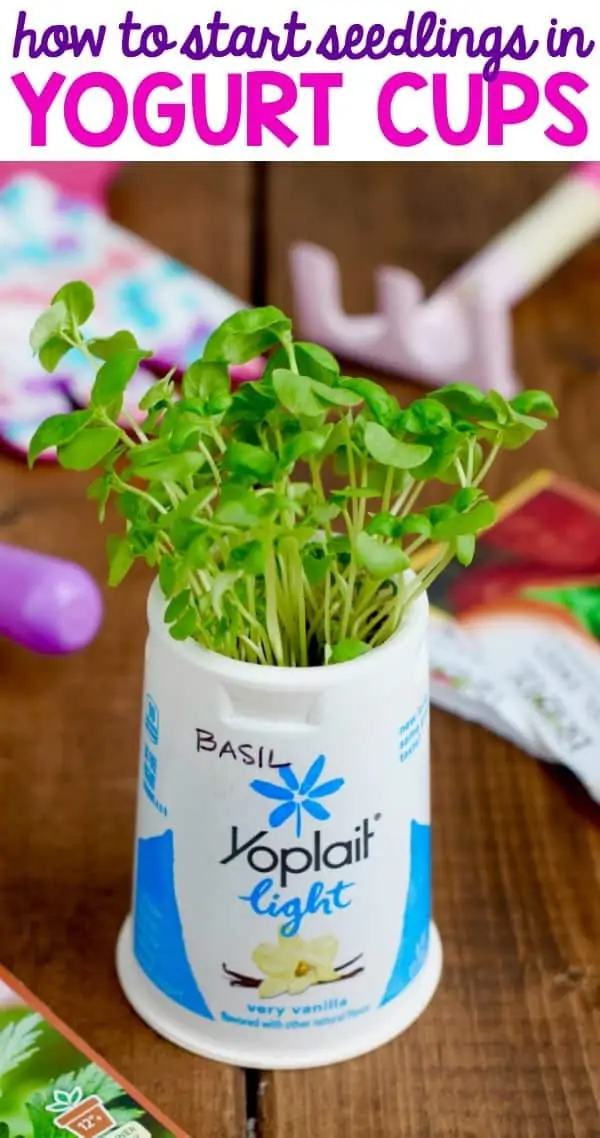
Once you know how to start seedlings in yogurt cups, you can get a jump on your vegetable garden each year!

I’m so excited to be partnering with Yoplait t o bring you this fun gardening tip!
One of my very favorite parts about summer is having a vegetable garden. It’s one of my kids’ favorite parts too! I can’t tell you how much I love seeing them jump off their swings run over to the garden and grab a cherry tomato and then run back and swing more. And then there’s the fresh herbs in my summer cooking! YUMM! But I always am late to start planting things so it takes forever for me to get my delicious summer goodness. Not this year! This year we started our seedlings in some leftover Yoplait cups and it worked perfectly. So I’m going to show you how to do it too!
This is a great craft to do with the kiddos! Mine have been obsessed watching our seedlings grow!
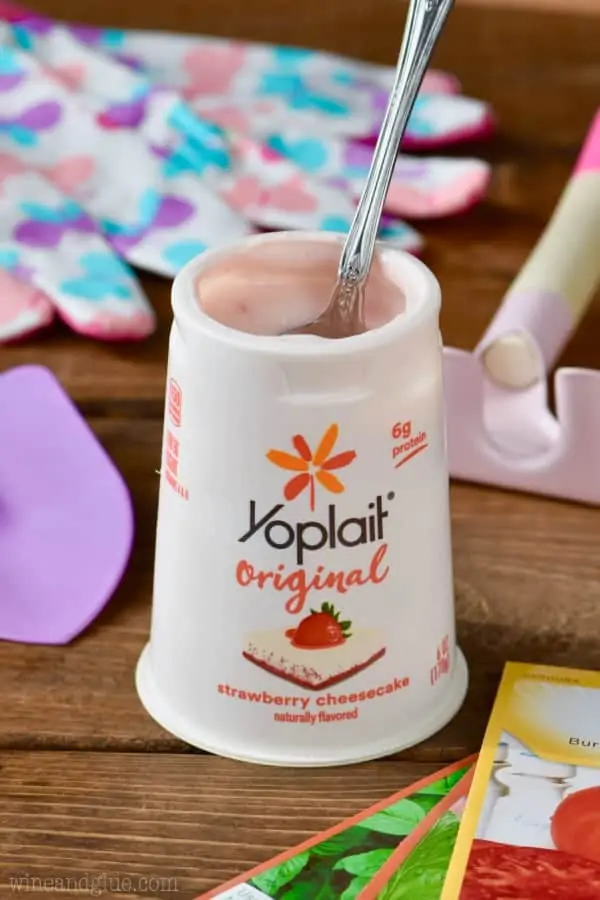
Step 1: Grab some Yoplait! My kids love the Original and I feel good about the 6 grams of protein they’re getting in each serving. I love Yoplait Light, which has 5 grams of protein but less calories! It is the perfect snack for both me and the kiddos!
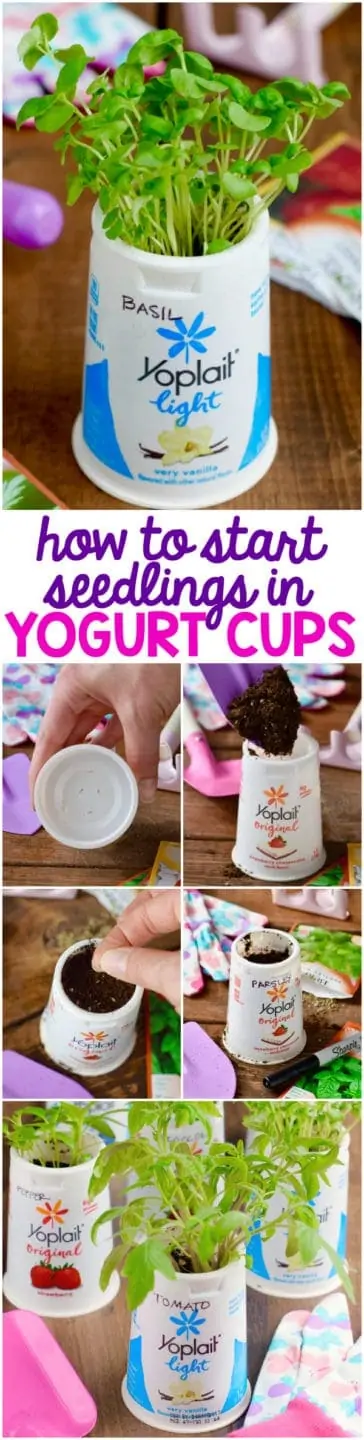
Enjoy your yogurt, and then give the container a good rinse.
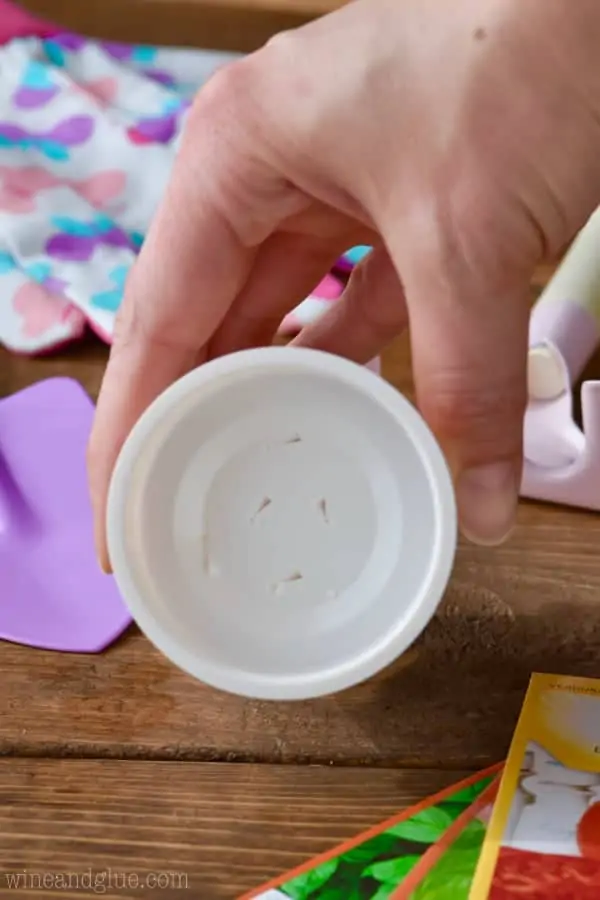
Step 2: Puncture some holes in the bottom. This is a job for the grown ups! Be sure to make the puncture holes from the inside of the container so the plastic points out and it’s easier for excess water to drain. We don’t want to flood our little seedlings.
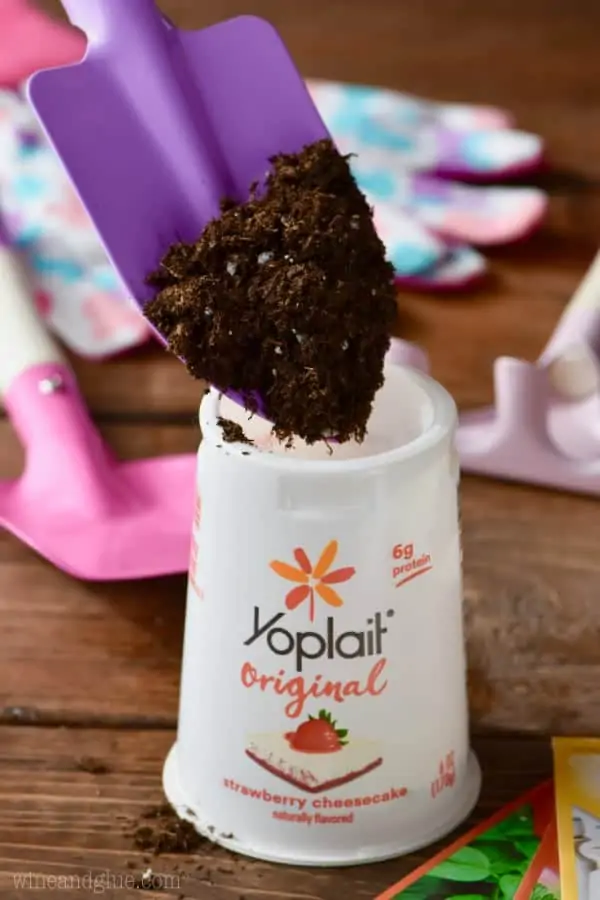
Step 3: Add some potting soil to your cup. You want to add enough so that you have about 1/2 inch left at the top. Make sure you tap the cup once so that it is fully settled and you know you have enough in there. I didn’t add quite enough soil to my parsley cup, and they didn’t grow as well as my other seedlings.
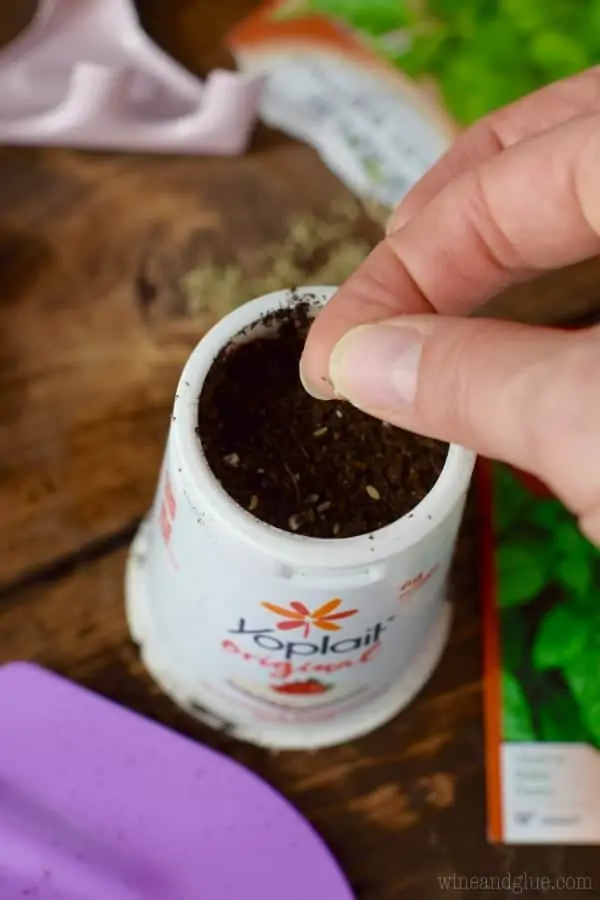
Step 4: Add some seeds! Add several to each cup, because some may not germinate. Be sure to read the back of the seed packet to see how far down you need to put the seed. Most seeds just barely need to be under dirt. If you put them too far down they won’t sprout.
Step 5: Label your yogurt containers so you know what’s what.

Step 6: Water your seedlings gently and set them in a sunny window sill. I loved having mine above my kitchen sink because I could check the dirt daily. When your dirt looks dry, add a little more water.
It was really sweet, my kids were so excited to see how much the plants had grown each morning. Quinn started talking about our bean seedling like it had a life of it’s own. “Do you see Bean?? Bean is growing like crazy!!”
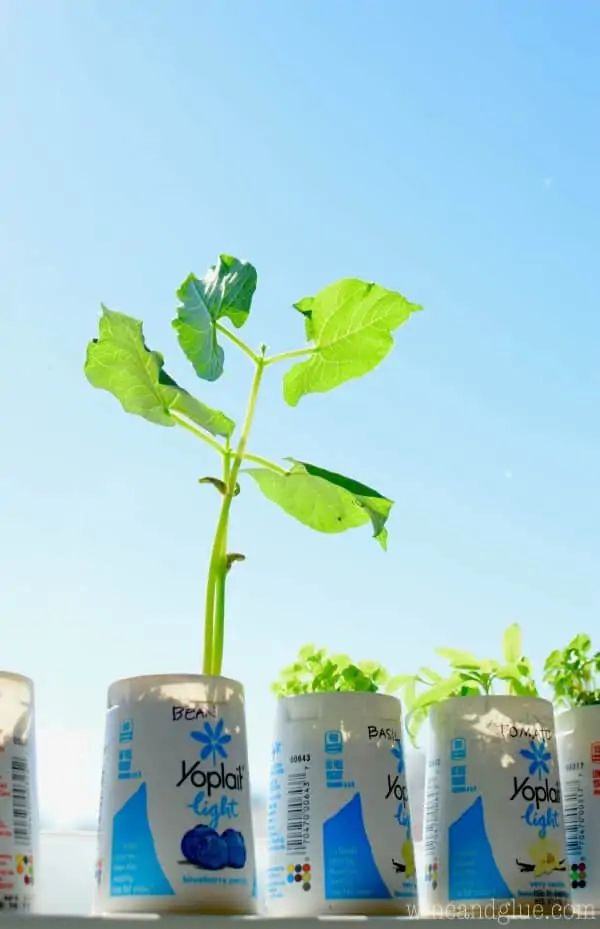
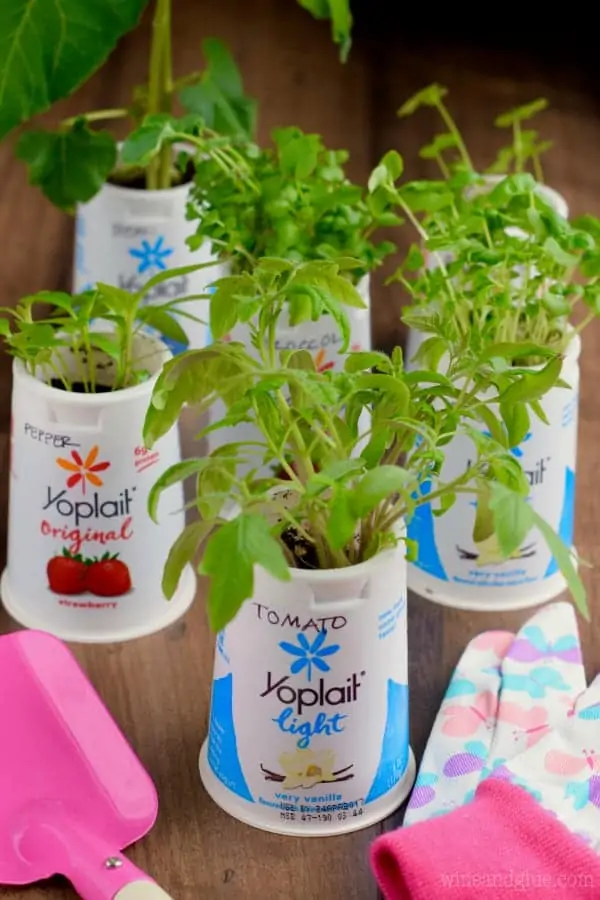
The picture above and below are the growth after two weeks and according to my dad (an amazing gardener if there ever was one) they look good to put in the ground at this level of growth. You want to look at the planting times for your zone to get a sense of when you should start them. Where we live in the Midwest is just about the coldest and late April is the perfect time to start seedlings. Get going, friends!
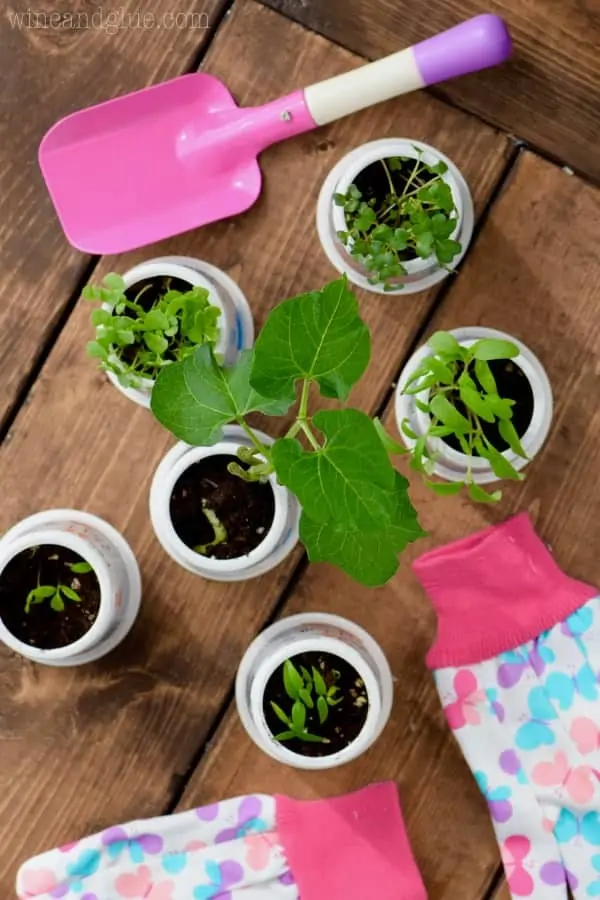
And the picture below is the growth after a month . Don’t they look so good?? I’m so happy with my little babies ????
For more awesome snacking and DIY ideas, be sure to follow Yoplait on Facebook , Twitter , Instagram , and Pinterest ! And try all of Yoplait’s 100+ flavors for a chance to win $100,000! Just enter the code on top of specially marked lids at Yoplait.com/100Ways and you will have a chance to win one of more than 3,000 prizes!*
*NO PURCHASE NECESSARY. Ends 5/15/17. To play and find Official Rules, visit Yoplait.com/100ways.
